In this article:
- Introduction
- STEP 1 – To Screen or Not To Screen, That Is The Question.
- STEP 2 – Location, location, location.
- STEP 3 – Orienteering
- STEP 4 – USB Stick or CMS?
- STEP 5 –Hard(ware) Choice.
- STEP 6 – Content Strategy
- STEP 7 – Time To Design
- STEP 8 – Installation
- STEP 9 – Reach Out and Spread The Word
- STEP 10 – The Big Reveal!
- Additional Resources
Introduction
Hi, I’m Chris, and I have worked in digital signage for over a decade, from eco-friendly e-paper screens that fuel the transport network in Salt Lake City to the sleek 43” menu boards at my local fast-food outlet, I have seen first-hand what it takes to make a digital signage project successful.
Over the years, I’ve made it my mission to improve the quality of digital signage everywhere which is why I’ve created this guide to help you navigate the dos and don’ts so that if you do choose to DIY, you can avoid all the costly mistakes I’ve seen made over the years. This guide is designed with beginners in mind. I recommend reading it fully at least once, rather than approaching it step-by-step like a recipe. A list of resources is included at the end of the guide for those eager to explore further.
Good luck with your project, and if you feel you still need expert help then please get in touch with me.
STEP 1 – To Screen or Not To Screen, That Is The Question.
Do you truly need digital signage, or is a printed poster enough? Take a moment to consider—are you pursuing digital signage because it’s genuinely the right choice for your business, or because you feel pressured by trends. Make no mistake—when executed properly, digital signage can be incredibly effective to drive sales and marketing engagement, however, it requires a lot of time and effort to be successful. If you can’t commit to the ongoing resources required to make it work, then it may end up being a very costly waste of time and money so choose wisely! Once you’ve decided that you want digital signage then begin by identifying some goals. Whether it’s for advertising, improving customer experience, or internal communication, having clear goals that you can refer to is a great place to start.

STEP 2 – Location, location, location.
It’s time to look for the best location for your digital sign(s). Here are some points to consider.
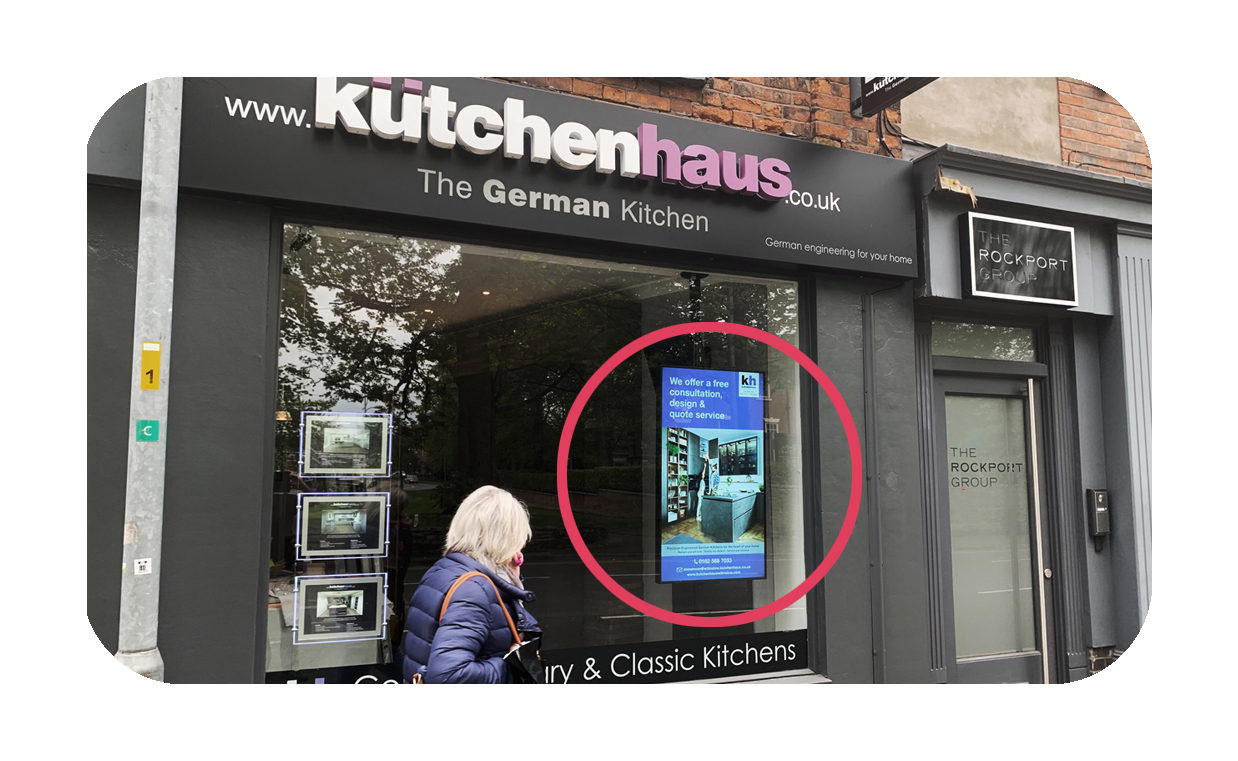
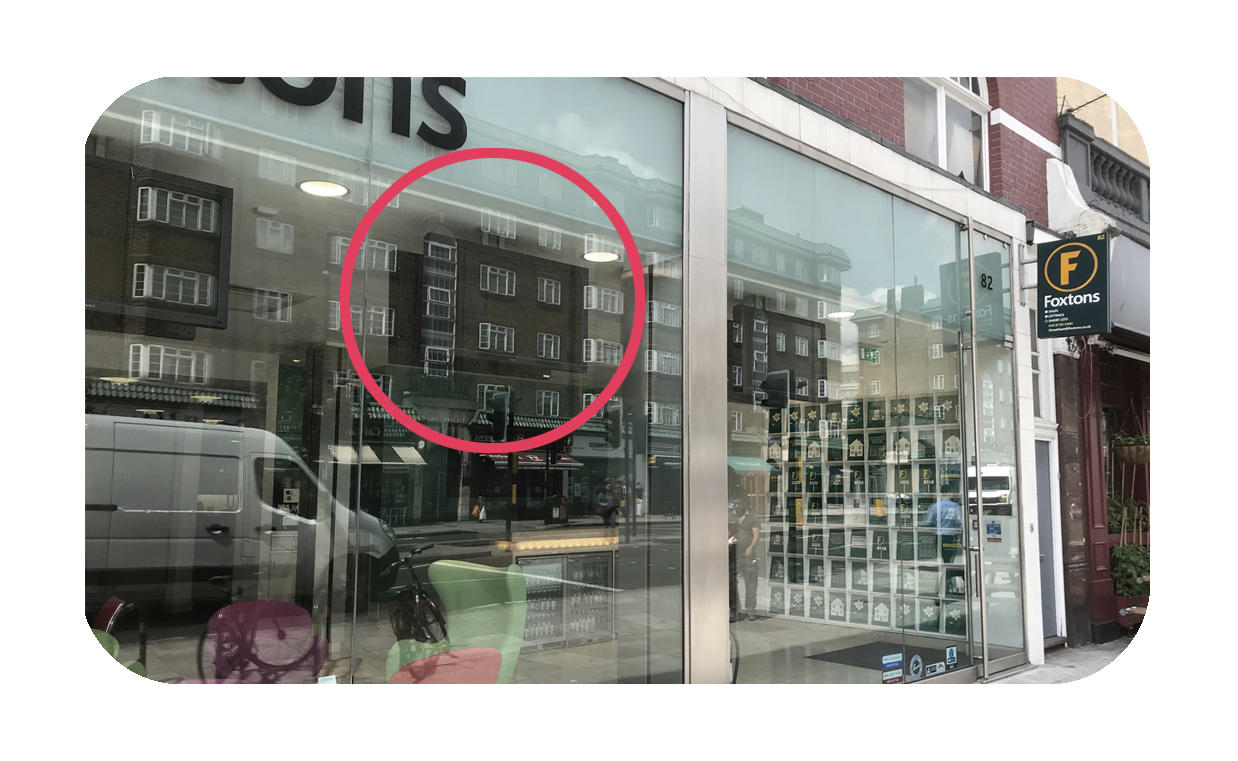
• Do you have a shopfront with good footfall or passing traffic? If so, consider an in-window sign or maybe even one outside, remember though, that a weatherproof display will have cost implications.

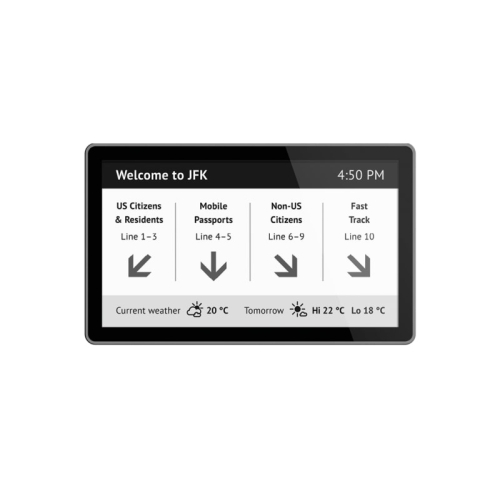
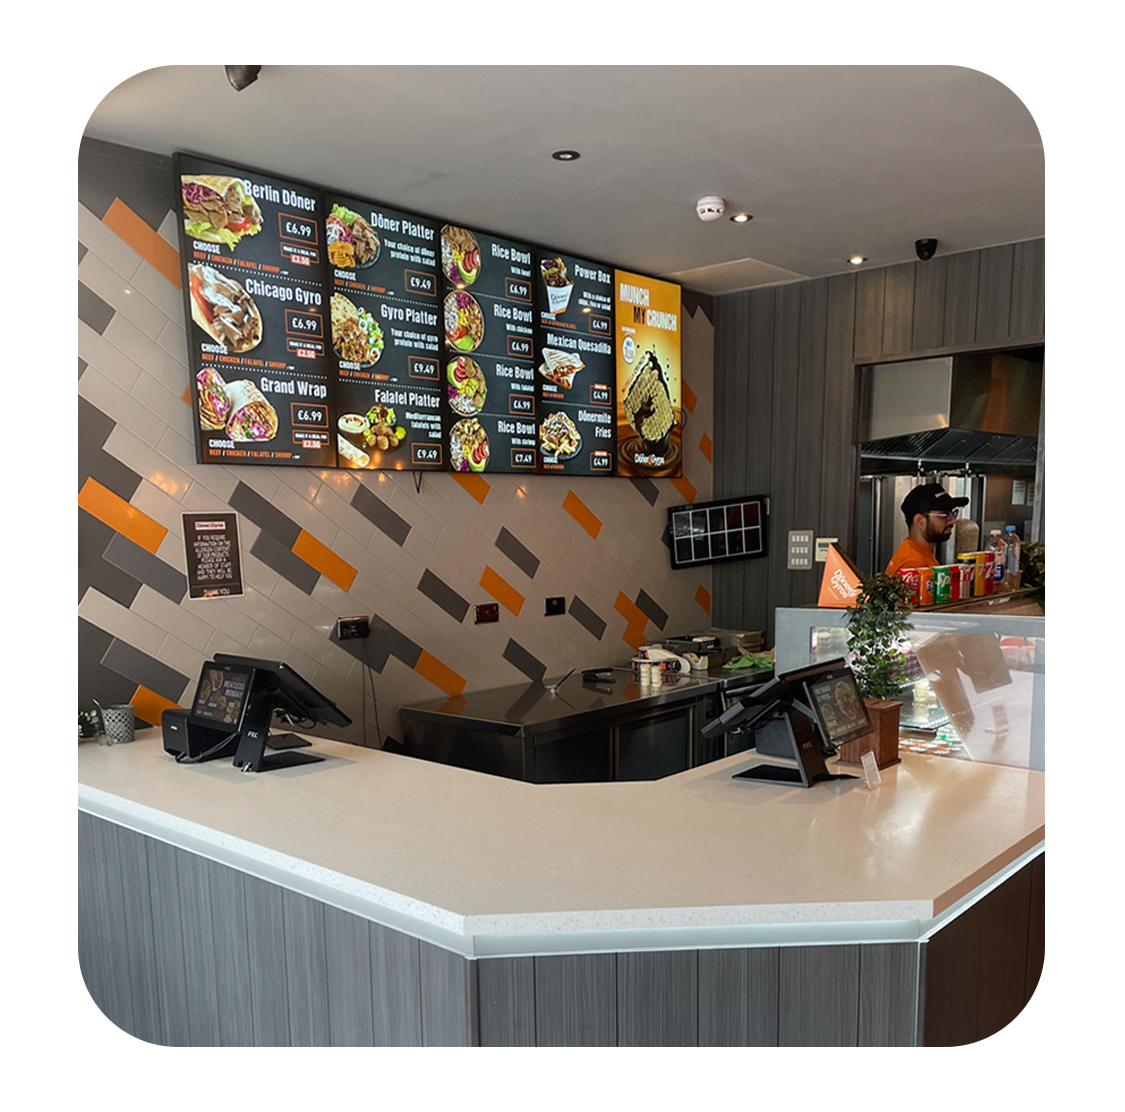
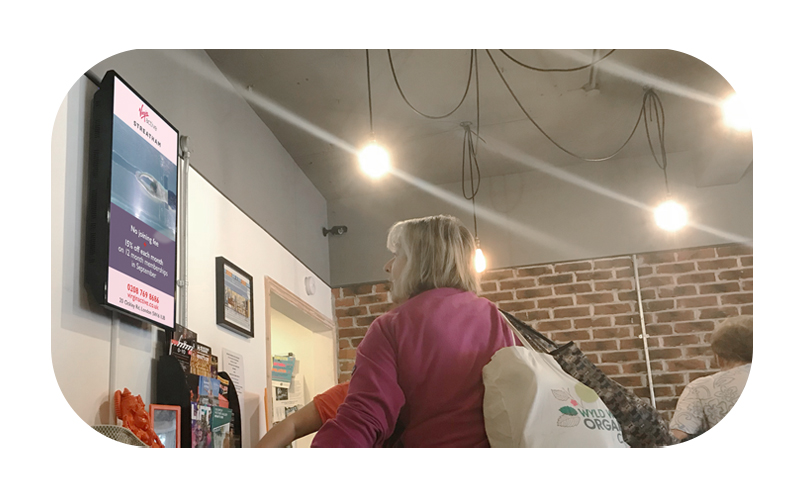
• Do your customers spend time inside your business? We call this dwell time and good examples of businesses with this type of environment include restaurants, pubs, hair-salons and coffee shops. If you’ve got one of these, think about a screen that could ‘talk’ to this audience.
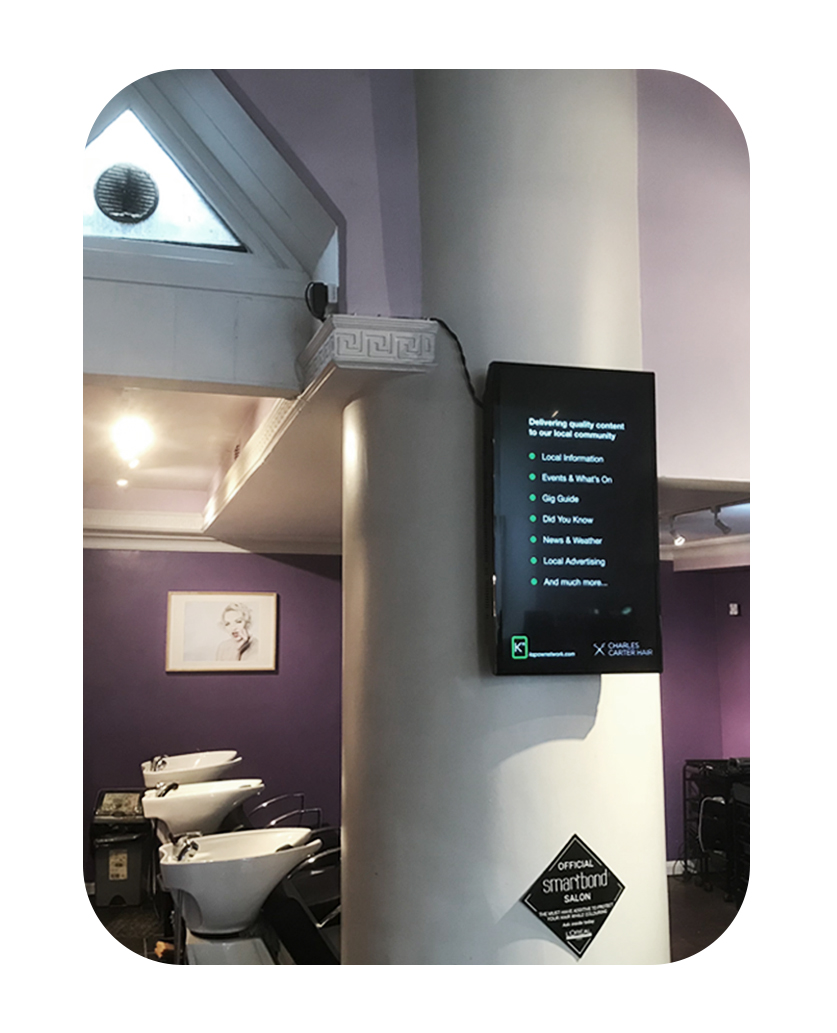

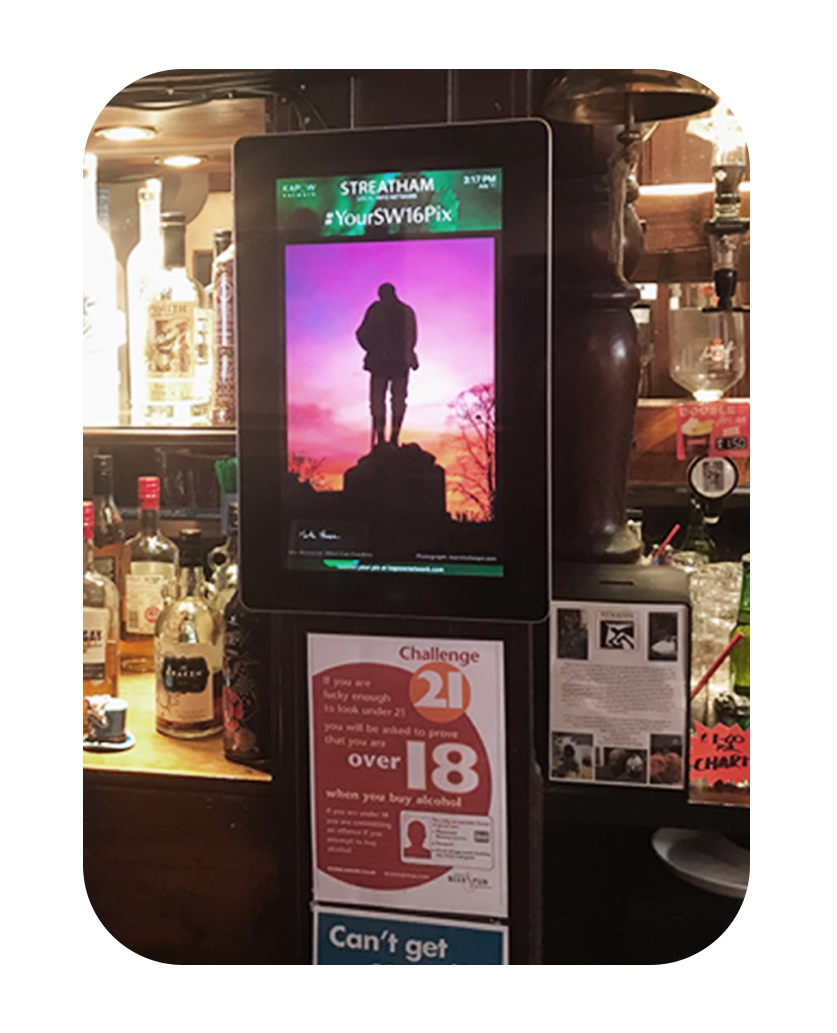
Examples of businesses that have dwell time.
Can you upsell or cross-sell customers at the point of sale? Could your existing till be repurposed as a digital sign.
Could you take advantage of some ‘dead’ space? You can also choose to have your screen freestanding or hanging and it doesn’t necessarily have to go on a wall. It’s also worth noting the location of the closest power socket and, if you are not hardwiring to the router which is recommended then be sure to check how strong is the Wi-Fi in this location.
Trust me you’ll thank me later.
STEP 3 – Orienteering
Are you going to have your screen in portrait or landscape? Sometimes this is dictated by the location itself and the physical space available to you but there’s also some other stuff to think about. If you opt for landscape and you’re playing lots of ads, then your audience is more likely to see your content as TV advertising.

If you’ve decided on a 100% advertising screen, then think about having it portrait as the content is more likely to be viewed as informative, like a poster.
You may be thinking about having both landscape and portrait, that’s fine but then you’ll need to generate twice the amount of content, one set for each format and trust me, your screen is very hungry for lots and lots of content.
STEP 4 – USB Stick or CMS?
Only by using a Content Management System (CMS) will you unleash the true power of digital signage and there are a few options available that don’t charge a penny for low numbers of screens. First though, make sure that the software will work with your screen, if it doesn’t then you may need to buy a media player that will sit behind your screen like a Roku stick. There are lots of CMS’s to choose from and each of them seem to do some things better than others but with DIY they probably all do everything that you will need and much, much more.
Assured are CMS agnostic, meaning that we are not driven by the potential sales of our own software and so make recommendations based on what would be best for the customer. We would also pre-load the software for you, which means that it will be ready to go out of the box. If you are stuck and need us to make a recommendation based on your own use case, then please drop us a line.
If you are adamant about using a USB stick, then make sure the screen has a built-in media player, and I implore you to update your content occasionally otherwise your screen becomes invisible to the regular passer-by.
STEP 5 –Hard(ware) Choice.
OK. Now you know where your screen is going, which way up and how you are sending the content, it’s time to consider your choice of hardware.
High Brightness – If you’ve decided on the shop window and it EVER catches the sun, then you MUST opt for a high brightness screen of at least 1500nit but preferably 2500nit+ along with a panel that can withstand the heat from direct sunlight known as a Hi Tni anti-blackening affect panel. Yes, they are more expensive than TV’s but if the proper kit is out of your price range, then you need to relocate your digital signage.
A TV used in the window, even if subjected to low levels of sunlight is completely invisible to the passer by. It’s basically like paying to have a poster printed using invisible ink, putting it up and wondering why the sales aren’t rolling in.
Should I ever use a TV? – Let’s start with the Pro’s, they are cheap and quickly available, and the user interface (UI) is designed to be friendly. On the other hand, there are some Con’s to consider.
TVs are domestic grade products and not designed for 24/7 continuous use so think first about how long you’re leaving your digital signage switched on. If it’s all day every day, then a TV was not built for the job. Standard TV brightness is low at around 250nit which is not even bright enough for a well-lit store.
With professional digital signage, there is usually some additional functionality built in such as selecting a source automatically when then screen powers up, setting an on/off timer per day of the week and having a built-in media player for loading content by USB stick. Reading this back, it doesn’t sound like much but when you work in digital signage you soon realise that it even such basic functionality is important.
TV’s will also have their brand stuck on the bezel, and when your audience looks at content on this screen, especially in landscape, their brain will think TV and switch off from your advertising.
If you’re opting for a Content Management System (CMS) then it’s highly unlikely to work on a TV and you’ll also need to buy a media player to plug into the back which is an additional cost to factor in.
Does size matter? When it comes to the size of your screen, start by thinking about how far away the majority of the audience is. The bigger the screen, the larger the font size that you will be able to use, and thus the further away you will be able to project your messages. The default size in-window screen for most large high street brands is 55” which will allow you to speak to passing vehicles as well as those on foot.
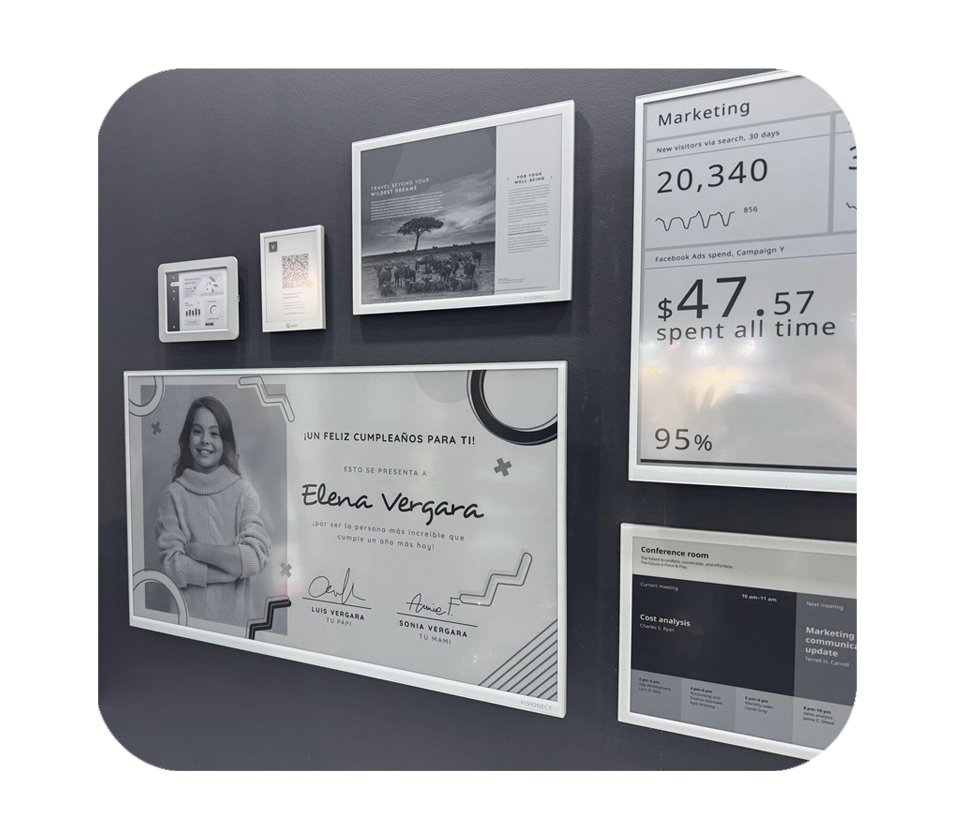
On the flip side, you don’t want a screen that is too imposing so if you have a more relaxed or natural environment then choose wisely. You can also consider other, less imposing technologies such as e-paper which don’t have to be connected to mains power and are therefore easier to install.
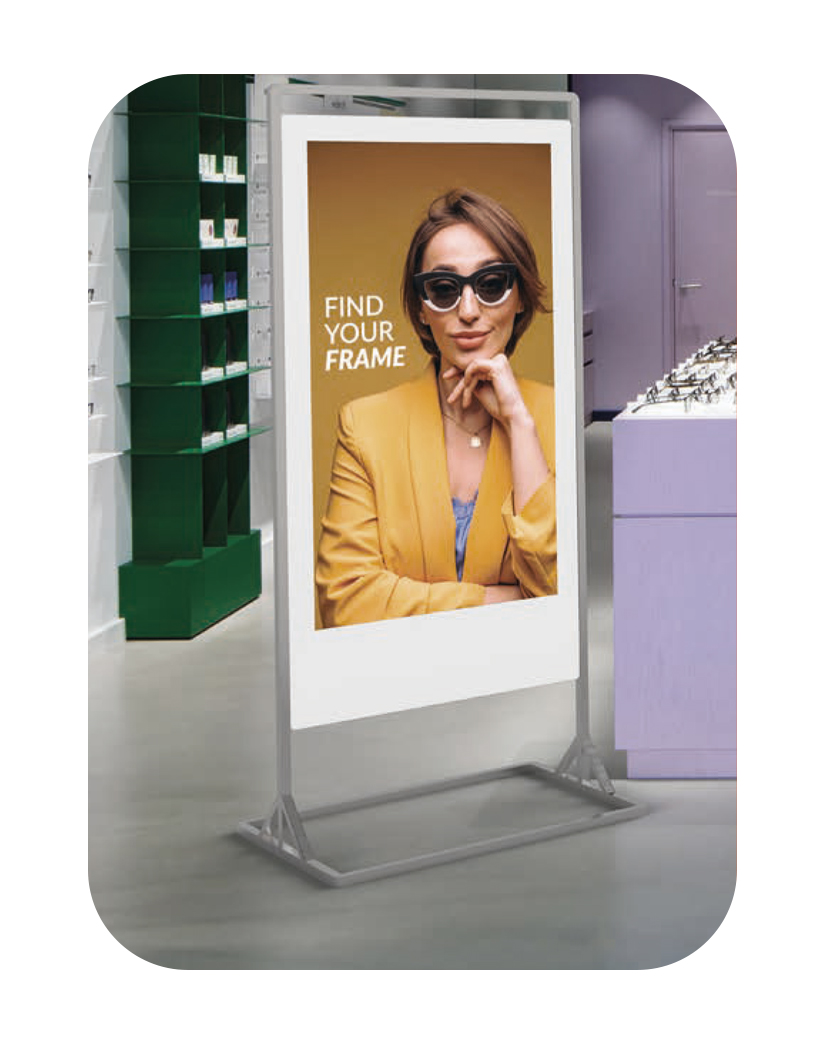
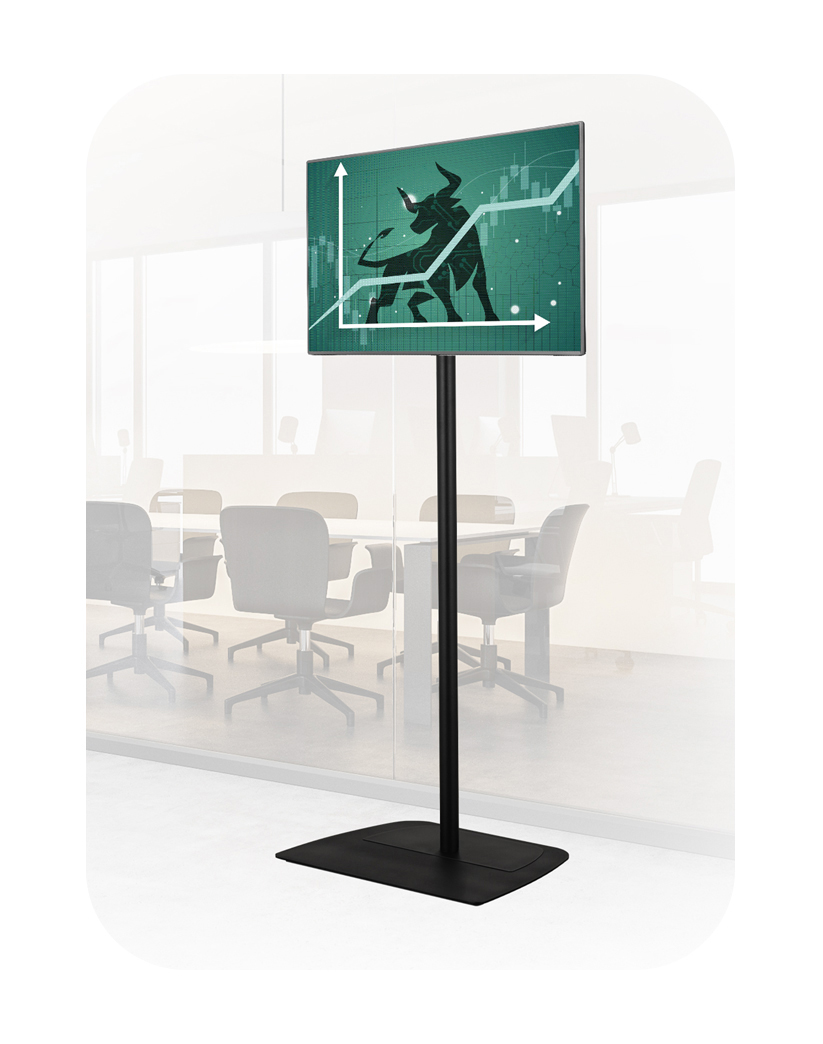
Freestanding – If you don’t have the wall space or a wall in a place that is suitable then there are plenty of freestanding options to choose from, both single and double sided. Or you could opt for a floor stand or even a ceiling pole for your screen. There’s bound to be a mount or stand available for most locations you could imagine your screen going.
Outdoor – Now this is where things can get a bit more complicated and for me you’ve strayed outside of the realm of DIY, so you need to give us a holler if you are going for a digital sign that’s destined to live outside.
LCD or LED – The main difference apart from the proprietary technology is the cost. LCD, at the time of writing, is the cheaper less complicated option. There are some good LED in-window products available but make sure you are buying ‘All-In-One’ and that you’ve got plenty of dough in the bank. If it’s a DIY project then as of right now… it’s got to be LCD!
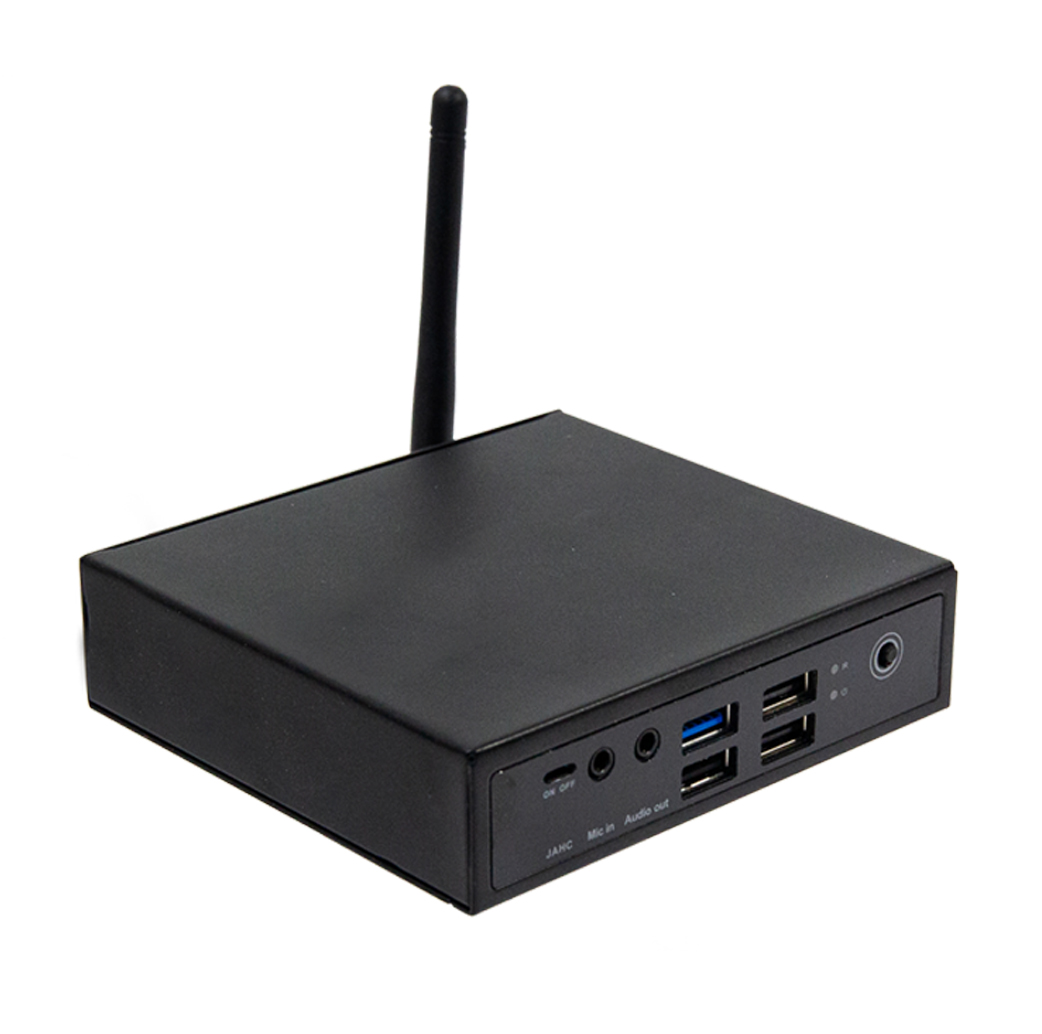
Do I need a media player? To find out, you need to ask yourself a couple of questions. First, does my screen have a built-in computer, (is it smart), which would suggest that it will play content from a USB stick and might work with your CMS.
If it’s a professional digital signage screen, then it will work with some CMS’s but could be limited to the brand of screens own and possibly a few others so you’ll need to research that in advance. If your screen is a dumb monitor, then you will 100% need a media player. These are widely available and if you are going to choose a CMS then the developer can also recommend one for you, or of course, we can.
Some media players will come loaded with your choice of CMS which is good news and one less step to worry about.
STEP 6 – Content Strategy
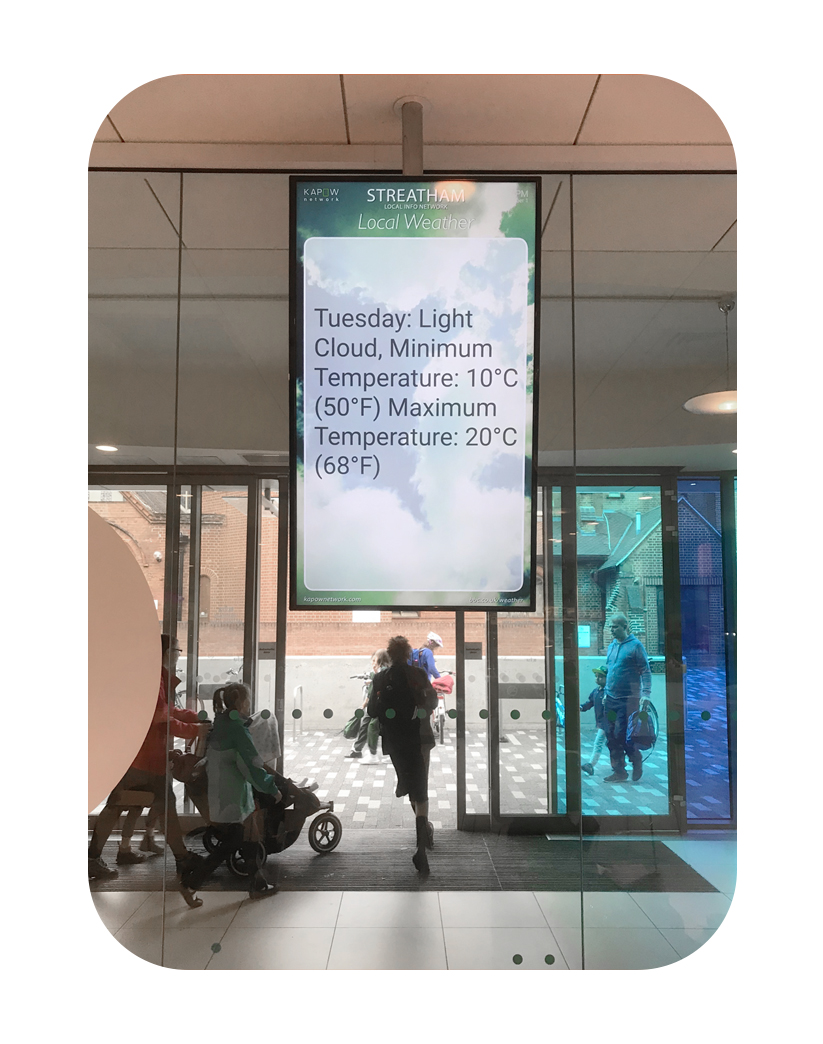
Tailor your content to the needs and expectations of your target audience. The first part of this is to identify the type of screen you have in relation to your audience. Is your audience passing by your screen, and sometimes at pace, in that case it is Point of Transit (POT), or are they dwelling in the location for at least 5 minutes in which case it is Point of Wait (POW), and finally at the point of purchase making it Point of Sale (POS). It’s important to think about your audience because that is going to drive the thinking behind your content strategy. POT needs shorter and snappier content, something to grab attention whereas with a POW network you may want to add in some local community content to further engage the viewing audience and make your own advertising messages more likely to be seen. With POS, is there an opportunity to upsell the customer or even get them interested in another product!

Next, and this is only relevant if you’ve opted for a CMS, think about how to leverage the power of scheduling alongside your business. The simplest analogy is a restaurant showing a breakfast menu in the morning and then updating to lunch reflecting the time of day. If you have a window sign, think about who is more likely to walk past at different times of day, it is people on the school run, office workers taking a look for lunch options or commuters on the way home.
Finally, there’s probably a lot you could do with your screen that you haven’t even considered. What about giving some screen time to a local charity to help them spread the word and then build yourself some positive PR surrounding this. You could even sell or give advertising time to other local businesses and get something in return.
STEP 7 – Time To Design
Before even thinking about installing your screen, it’s important to focus on preparing your content. Having content ready for the big launch ensures it takes centre stage—after all, the content is what truly makes your screen valuable. Ask yourself: do you watch a TV simply because it’s a TV, or because of the programming? The cost of a TV pales in comparison to the investment needed to create engaging content. While you may not have a Hollywood budget, always aim to produce the highest-quality content possible—it’s what will make your screen truly work for you.
Start with getting the basics right, screens work to a size in pixels rather than centimetres and in a different colour space to print, (RGB rather than CMYK), so find out what resolution your screen is and work to that. Also, if you are going to use video make sure you aren’t trying to publish a 4K movie trailer over Wi-Fi to your full HD screen as you’ll soon come unstuck. If you’re going with a CMS, then ask them for some guidelines on content specs as they will be sure to have them. There’s plenty of free tools out there now for designing your own content, with templates already designed to get you going so there’s no excuse and if you’re not creative then there’s plenty of graphic designers who can help but first make sure they can handle animation and video prior to engaging one. I see far too many examples of designs destined for print ending up on a screen.
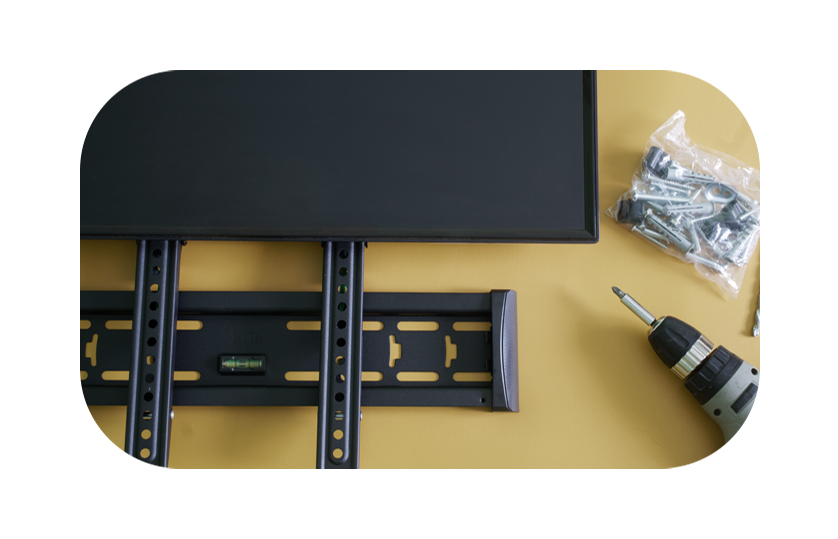
STEP 8 – Installation
Before installing your screen, complete a site survey and gather some basic information. If you need to move any electrical or data points, then please seek the help of a professional otherwise you could end up blowing up your new kit or worse, injuring yourself. At the least, a basic site survey should look to discover the following –
• Where is the closest power socket in relation to your screen. Do you need to consider longer power cables than the one supplied and what about some conduit to keep everything nice and tidy.
• Where is the router, if you are using Wi-Fi, does it give off a good enough signal. Is there a chance to run Cat 5 cable to the router or could you use something like Wi-Fi over powerline to make hardwiring even easier.
• What surface are you mounting to, is it brick, plasterboard or concrete etc. You’ll need the right tools and fixings for the relevant surface. A normal drill will not go into a concrete floor easily and make sure you’re not about to drill into your electrics or water pipes and yes, I’ve seen it done.
• Have you got the right bracketry and mounts for your screen, does it fit the screens VESA configuration.
• Do you need to be aware of health & safety and any risk posed to the public. If it’s your business it is recommended to install out of hours when you have a quiet moment.

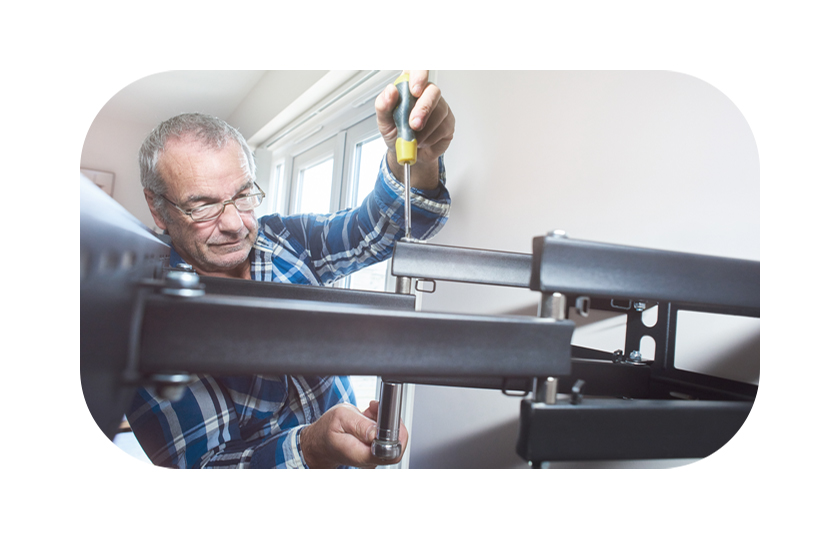
• Will you need a second pair of hands, someone may need to be there to help lift the screen into its final position.
• Do you need any other basic kit such as keyboard and mouse to set the screen up once it is installed. We would recommend getting the screen set up on a bench beforehand as it may be much easier to access the relevant ports.
Once you’ve noted the above then you should be about ready to install. Usually, the mounts and brackets come with their own instructions so this will be a good place to start and, of course, you will need to make sure you have the right tools for the job.
STEP 9 – Reach Out and Spread The Word
Almost there! It’s likely to have been more work than you initially expected, right? Now that your screen is installed, why not share the news? A simple social media post can go a long way. If you’ve decided to allow others to utilise some airtime, consider highlighting the positive impact this could have. Is there a compelling story to tell? You might even reach out to local publishers or business networks who could be interested in featuring what you’ve accomplished.
STEP 10 – The Big Reveal!
Bring together your friends, family and customers, it’s time to reveal your own Big Screen! Before the unveiling double-check that everything is functioning perfectly. Consider creating some tailored content to mark the occasion and make it truly special. Congratulations on this milestone—you’ve earned it! Lastly, don’t forget about maintenance and upkeep, regularly cleaning the screen can help prolong its lifespan and keep it looking fresh.
About the author…
Chris Rushton is the Co-Founder and Managing Director of Assured Digital Signage bringing over 30 years of experience in the communications industry and is a Freeman of The Stationers’ Company. For the past decade, he has specialised in digital signage, which began with a community-focused point-of-wait network in South London. He likes spending time with his family, reading, practising mindfulness, playing chess and honing his lack of skills on the golf course.